In Ibusuki, Japan, the Tokko shrine honors a sailor named Maeda Riemon for bringing sweet potatoes to the country in 1705. He encountered the plant, which isn’t actually a potato, in the Ryukyu islands of the East China Sea, where locals called it “Chinese potato.” Riemon was so impressed by the flavor that he brought tubers home to his garden in Satsuma Province (now part of Kagoshima prefecture). Before long, his neighbors began growing it as well, and it spread vigorously throughout Japan. It produces huge yields, and the crop is easy to stockpile and store. In those days, crop failures and famines were common, and the Satsuma-imo, as it was called, fed millions through harsh times, including World War II.
Sweet potatoes originated in Central and South America and arrived in the Ryukyu Islands by way of China, where they had taken hold about a century earlier. Here in the U.S., Satsuma-imo grows in every state in the Lower 48, but in northern climes, you’ll want to start it inside in a bucket of soil. By the time it’s warm enough outside for sweet potato transplants, yours will be ready for the ground. You can plant Japanese sweet potatoes among other garden crops like tomatoes or spinach. They grow slowly, starting off as ground cover between other plants before eventually settling their own subterranean crop.
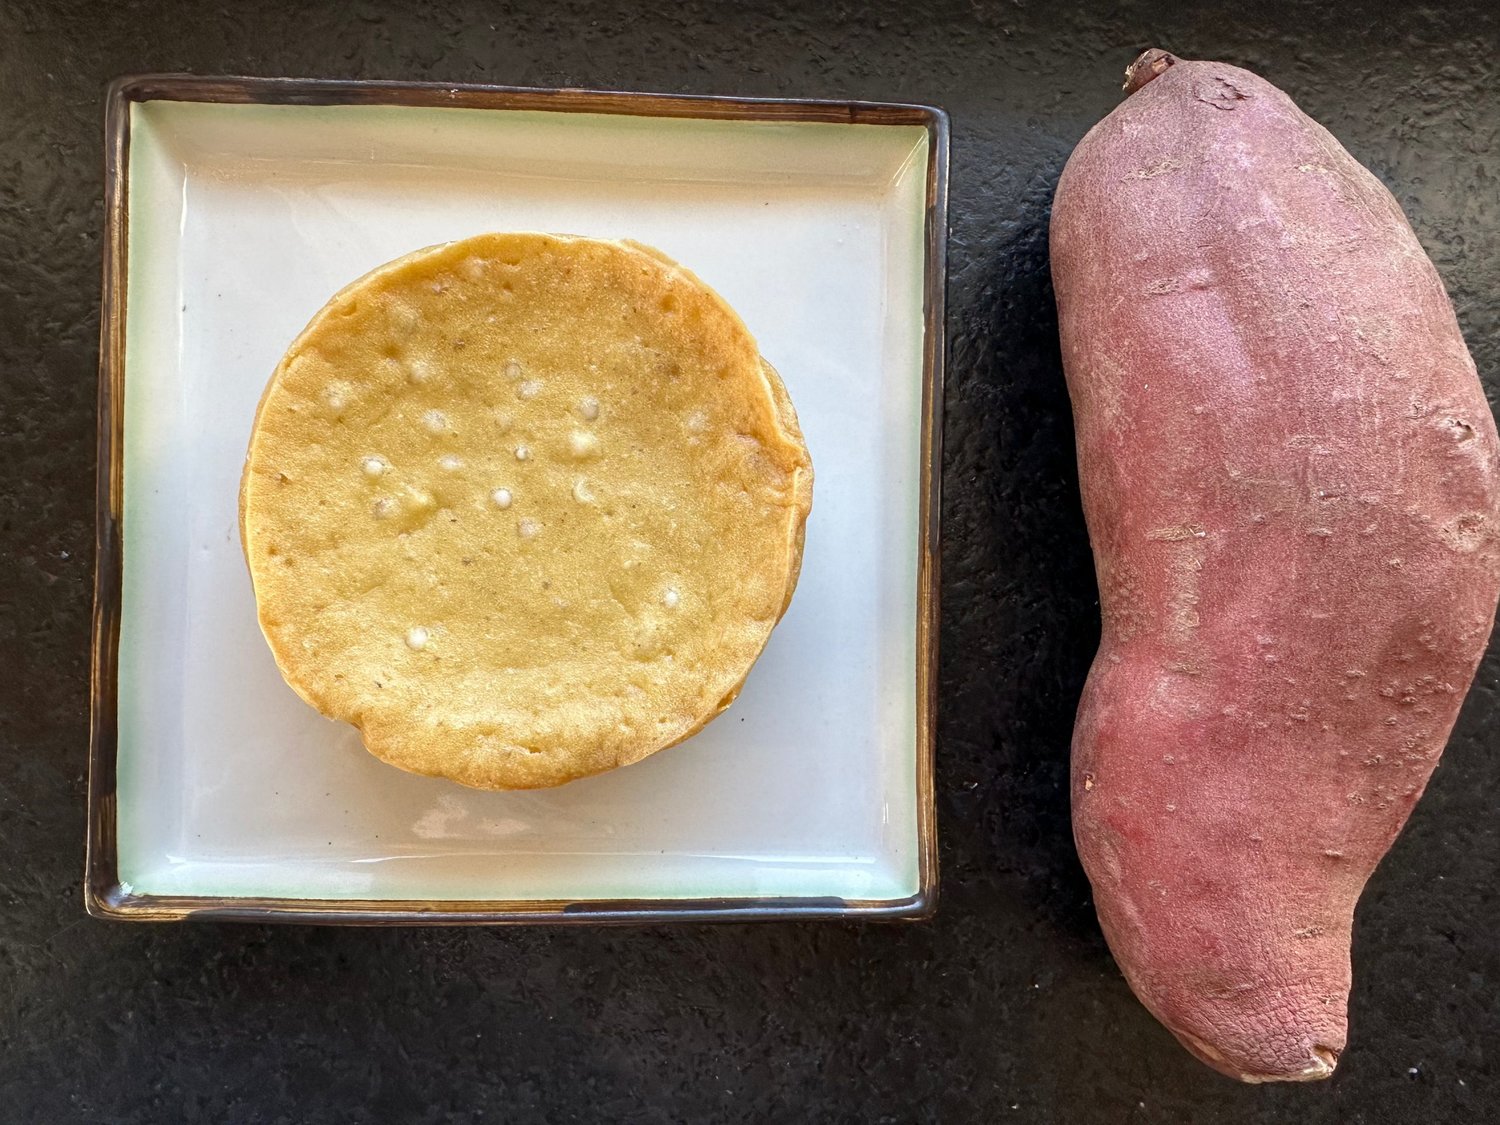
Baking is the best way to cook Satsuma-imo. The flesh becomes soft, fluffy and moist, with a vanilla-esque aroma and honey-like sweetness. While the inside tastes like crème brûlée, the chewy skin is mild and pleasant to eat as well. Altogether, baked Satsuma potato is a complete, stand-alone meal that doesn’t require a single condiment, side dish or even dessert.
While a baked Satsuma potato needs no improvement or modification, I decided to doctor one anyway. Since it tastes so perfect, my plan was to prepare it in a way that made it taste even more like itself. Redundancy in the kitchen is a good thing because doubling up can create more nuanced flavors. In this case, combining the pudding-like sweet potato flesh with the ingredients for custard improved the flavor while increasing the amount of final product. Baked slowly in the oven, the pudding develops a chewy shell while staying soft in the middle. It tastes like eggnog, with maple syrup for added sweetness, vanilla to match that syrupy sweet potato flavor, coconut milk for creaminess and tapioca pearls for fun.
This recipe is the only instruction you need for Japanese sweet potato. It’s also step one in my baked pudding recipe.
One spud serves one person
Set the oven to 350 degrees.
Using a fork, poke a few holes in the skin of each sweet potato.
Wrap them in foil if you wish. They will stay moister that way, without the density of a naked baked potato.
Try with and without foil to see which you prefer.
Bake for about 2 hours, until totally soft all the way through.
This dish is like crème brûlée, minus the torched sugar on top. I’ve included optional instructions for adding tapioca pearls if desired. Use 4-inch ramekins, ideally, or some kind of small, bakeable ware.
Makes two servings per pound of potato
2 tablespoons tapioca pearls
1 pound cooked Satsuma-ito flesh (no skin)
2 tablespoons tapioca flour
1/2 cup coconut milk
1 tablespoon cooking oil
1/4 teaspoon grated nutmeg
1 tablespoon maple syrup or sugar
1 teaspoon vanilla extract
1/4 teaspoon salt
2 eggs, beaten
Butter for greasing the ramekins
Preheat oven to 250 degrees.
Heat the tapioca pearls in the milk on low heat for about 20 minutes, or until soft, stirring enough to keep everything loose. When soft, let them cool.
Add the rest of the ingredients to a blender or food processor and process until smooth. Add the egg and beat again until smooth. Stir in the milk-fed tapioca pearls if using. Pour the mixture into two buttered ramekins, which should bring it to about ¾ full.
Bake for about 90 minutes, until stiff in the middle. Serve warm or cold.


Support City Pulse - Donate Today!
Comments
No comments on this item Please log in to comment by clicking here